Soil Testing – How To Get A Healthy Lawn
What sets Jonathan Green apart from other lawn care brands is that we believe that healthy soil is the key to a healthy lawn. A balanced pH, loose or porous soil, and healthy microbial populations will make a lawn flourish. If the pH of your soil is not close to neutral then weeds can thrive and grass will suffer.
But we have good news!
Testing and treating your soil can be completely organic! There’s no need to add lots of chemicals to achieve a beautiful lawn! We’ve put together this guide on how to improve your soil and your lawn.
Step 1: Test Your Soil’s Compaction, pH, and Microbial Life

- Tools You May Need:
- Screwdriver
- Spade
- Soil tester
- Distilled or rain water
- Bucket
- Compaction Test
Test your soil for compaction by gently pushing a screwdriver into the soil. If you have to exert force to push the screwdriver up to the handle than your soil is compacted.
- pH Test
Have you had trouble with your lawn year after year despite your best efforts to put down weed control and fertilizer?
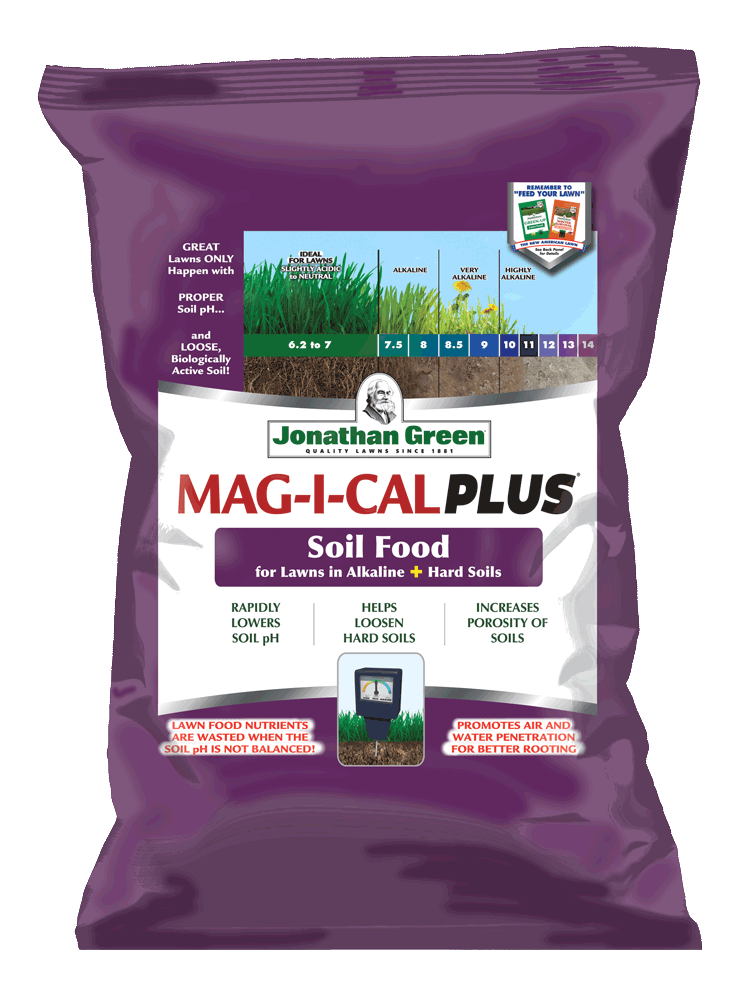
The problem may be your soil! Weeds thrive in acidic soils with a pH less than 6.0. In pHs of 4.0 to 5.9 weeds flourish. Lawn grasses thrive in slightly acidic to neutral soil with a pH ranging from 6.2 to 7.0. There are a few ways you can go about testing the pH of your soil. The best way to get an accurate reading is to send a soil sample to your county cooperative extension where your soil will be tested in a lab. This will result in a more thorough and accurate reading of your soil. If that’s not an option though there are also soil test kits available to buy online.
If you are testing your soil pH at home:- Collect soil from at least three different parts of your lawn. Dig down three inches in each area and then mix all the soil samples together. This provides you with one representative soil sample which ensures an accurate reading for your entire lawn.
- If your soil test kit requires you to mix the soil with water, use either distilled or rain water. Do not use tap water as it is pH adjusted by your water authority and will not provide an accurate pH reading.
- Make sure you have an accurate pH color chart. Your soil test kit should come with a pH card so that you can compare the color of the sample with the color on the card in order to see your true pH.
“Grass thrives in soils with a pH range of 6.2 to 7.0”
- Microbial Populations Test
It is difficult to scientifically test for microbial populations at home but you can examine your soil. The more organic matter (leaves, humus, manures, compost, etc.) in the soil, the more biologically active the soil is and, accordingly, the more beneficial microbes there are. Also, if your soil is compacted or the pH is off, there is a good chance the microbial population is also suffering.
Step 2: Determine What Your Soil Needs
Now that you’ve tested your soil it’s time to determine what you need to do to adjust the soil pH, compactness and microbial life.
- Too Acidic?
Many people believe the best way to adjust acidic soil is to add limestone. However, limestone only solves half the problem and a lot of lime is needed to fully cover your lawn. Whereas traditional pelletized lime only contains calcium, Jonathan Green Mag-I-Cal® Plus for Lawns in Acidic & Hard Soil contains calcium, sulphur and iron to naturally adjust the pH of the soil, while also loosening hard soil for increased absorption of nutrients and water. - Too Alkaline?
If your soil is too alkaline having a pH above 7.2, then you will need to lower the pH. Jonathan Green’s Mag-I-Cal® Plus for Lawns in Alkaline & Hard Soil lowers the pH and loosens hard soils. The active ingredients in this product are sulfur and calcium sulfate dihydrate which balances soil pH, is important to cell development, and is vital to many grass plant functions. When soil is too alkaline and compacted, air, water and nutrients cannot get down to the roots, and the grass will not grow properly.
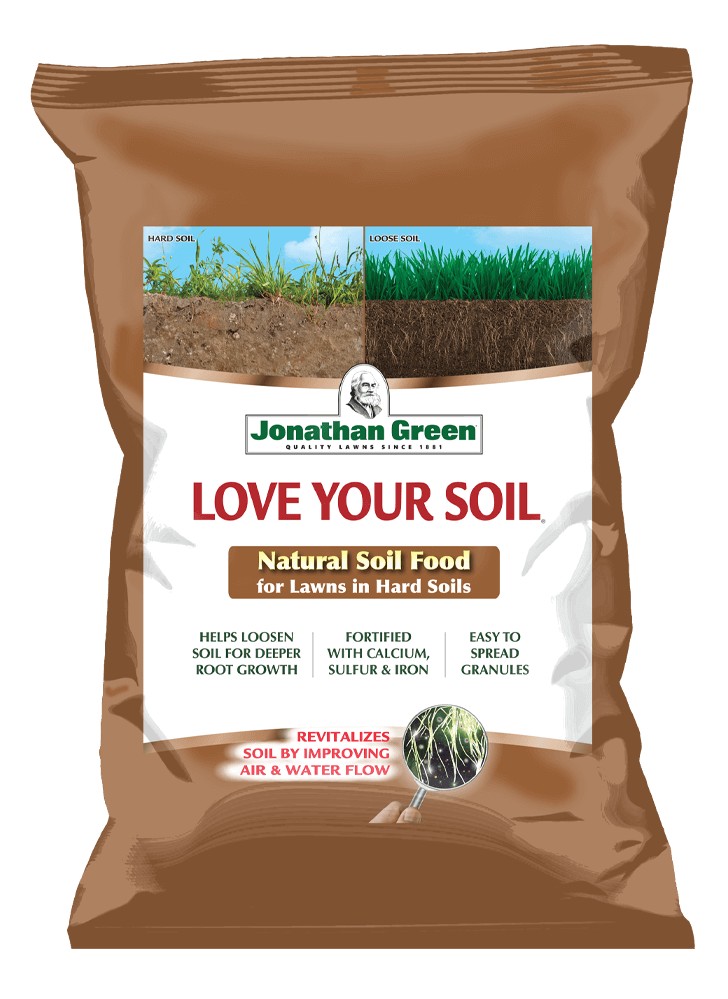
“Your soil’s microbial population is just as important as its compaction. Jonathan Green Love Your Soil fixes both- it naturally aerates the soil while stimulating microbial life.”
- Too Compacted?
What if your soil is compacted or the soil microbial populations are struggling?
There are a few options to resolve this issue. If your soil is compacted you need to aerate it. A core aerator is the most effective way to aerate lawns because it pulls cylinders of soil out of the ground, making room for more water, oxygen, and nutrients to penetrate deep into your lawn, reaching the grass roots.
However, adding organic content to the soil to feed the soil microbial population is the key to permanently alleviating compaction issues. Jonathan Green Love Your Soil® addresses both soil issues since it naturally aerates the soil while stimulating microbial life. It breaks up clay and loosens compacted soils, which improves root penetration, grass growth, and root mass. Love Your Soil® also helps to stimulate soil bacteria and fungi to break down organic matter converting it to humus. Healthy biologically active soil contains as much as 5% organic humus while lawns that struggle might contain less than 1%.
Love Your Soil® also helps to stimulate soil microbial life. The bacteria and fungi in the soil break down organic matter converting it to humus. Healthy biologically active soil contains as much as 5% organic humus while lawns that struggle might contain less than 1%.
Although fertilizing is important, not all fertilizers are the same. Fast release chemical-based fertilizers are absorbed directly by the leaves, stems, and crowns of the grass plants. Organic fertilizers feed more slowly, they are broken down by the microbes in the soil and are primarily absorbed by the grass roots. Think of a fast-food sugary meal that leaves you hungry in a few short hours compared to a complex carbohydrate and protein meal that satisfies your appetite for half a day. Love Your Soil® feeds and stimulates microbes to build a humus reserve which imparts nutrient-laden water and disease resistance. Microbial populations are responsible for recycling the organic waste which makes the soil more porous allowing air, water, and grassroots to penetrate deeper.
Remember, all of these products are organic, which means that they are safe for children and pets immediately after treatment.
Mentioned Products

Step 3: Application
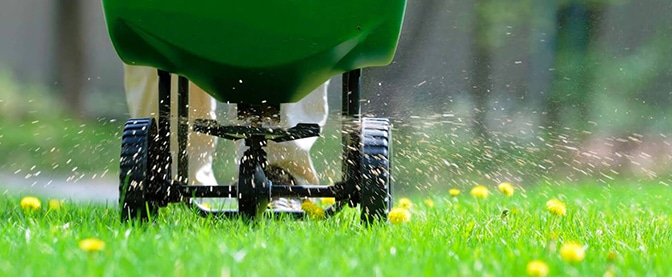
If you have thatch it is very helpful to rake the lawn vigorously before any application so the food reaches the soil to work its magic! Using a drop or rotary spreader is ideal for these products to ensure an even and thorough application. Once the application is complete irrigate the treated area for 15 to 30 minutes for the best results. Make sure to wait a day or two to mow the lawn to give the product time to activate.
“Once the application is complete irrigate the treated area for 15 to 30 minutes for the best results.”
If you are aerating your soil, make sure to remove any objects from the lawn, or flag things like irrigation heads. It is best to irrigate the lawn with a full inch of water to make penetrating the soil easier.
Step 4: Enjoy Your Lawn!
Sit back and watch the magic happen! After all the time you’ve invested in your lawn and the soil it grows in it is time to get out there and enjoy the fruits of your labor. All three of the aforementioned products are organic so you and your family can safely play all summer long!